PDF
The shadow and light of the Hanukkah Menorah / SECOND GRADE


Abstract
This activity will enable students to create a Hanukkah Menorah by having a good command of artistic tools such as fusain and stencil. As an introduction to the lesson, the class is invited to carefully observe an artistic work depicting a Hanukkah Menorah, by zooming on details (used colors, symbols…). In order to develop students’ tastes for artistic practices and the discovery of materials, the class will be invited to create various Hanukkah Menorot so as to define a “kosher” Hanukkah Menorah. Each student’s personal work will help them connect to the history of Hanukkah and to the Jewish people’s mission to spread the light.
Knowledge: Know the laws on the lighting of the Hanukkah Menorah and their implementation. Know the definitions of a “ kosher” Hanukkah Menorah.
Identity Reinforce the connection between students and Hanukkah through the main symbol of this celebration, the Hanukkah Menorah, which consists of spreading the light.
Skill: Analyze a painting work by zooming on details. Be able to represent a candelabrum with eight branches by having a good command of artistic tools such as fusain and stencil.
Introduction:
Students carefully observe the artistic work and answer the questions from page 3, with the help of their teacher. Other questions may be asked, such as: Which materials was this Hanukkah Menorah made of? How many branches does it have?
Is this a Hanukkah Menorah that we light with candles or olive oil? Does it look like the Hanukkah Menorah you know? Ask your students what Hanukka means to them.
Here is a list of possible answers: the lighting of the lights of the Hanukkah Menorah, playing spinning top, the miracle of the flask of oil, the victory against the Greeks, eating donuts, receiving gifts, family gathering …
Before starting the activity, it is recommended to briefly remind the rules on the lighting of the Hanukkah Menorah: What are the different ways of lightening? Where do we place the Hanukkah Menorah? When do we light? Which blessings should be
recited?
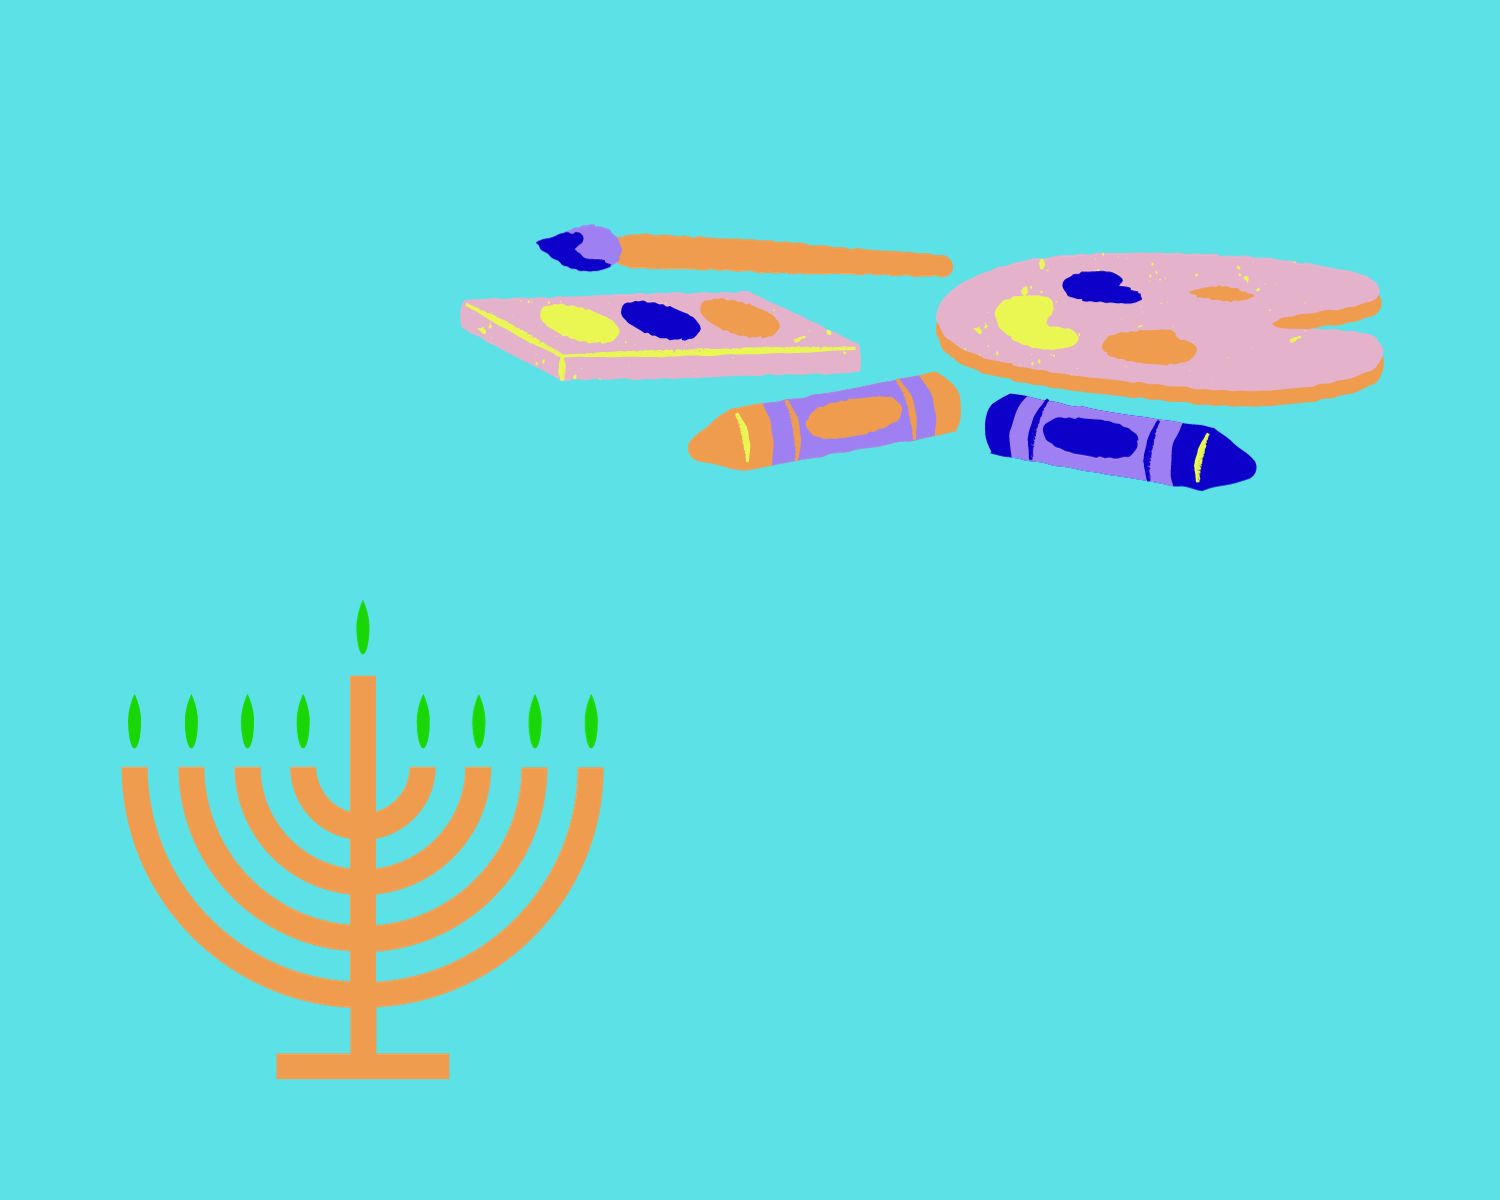
Enlightenment: Present the activity which consists of creating a Hanukkah Menorah using chalk, fusain and stencil.
-Highlight the model for the Hanukkah Menorah to be created (it is recommended to prepare one in advance so that students understand what this is about).
– Set up the necessary materials on the table, explaining the function of each tool. (A tutorial for beginners is suggested in order to have a good command of fusain).
Process: Follow the steps mentioned in the sheet (see page 4). Prepare the background with chalk, then smudge the different colors. Clip the stencil and color with the fusain. Finish with the cutter.
Conclusion: Display the creations by highlighting them. Each students is invited to talk about his work. Which aspects of these different techniques were appreciated?
(The chalk, the fusain, the stencil…). Which were the difficulties encountered?
Finish the activity with a collective lighting of the Hanukkah Menorah, to put theory into practice.
A white Canson sheet
Yellow, orange and pink chalk
A tissue or blotting paper
Fusain
The stencil mentioned in the exhibit

.jpg)