PDF
Hanukkah Menorah – introduction to engraving / Grade 4-6

Abstract
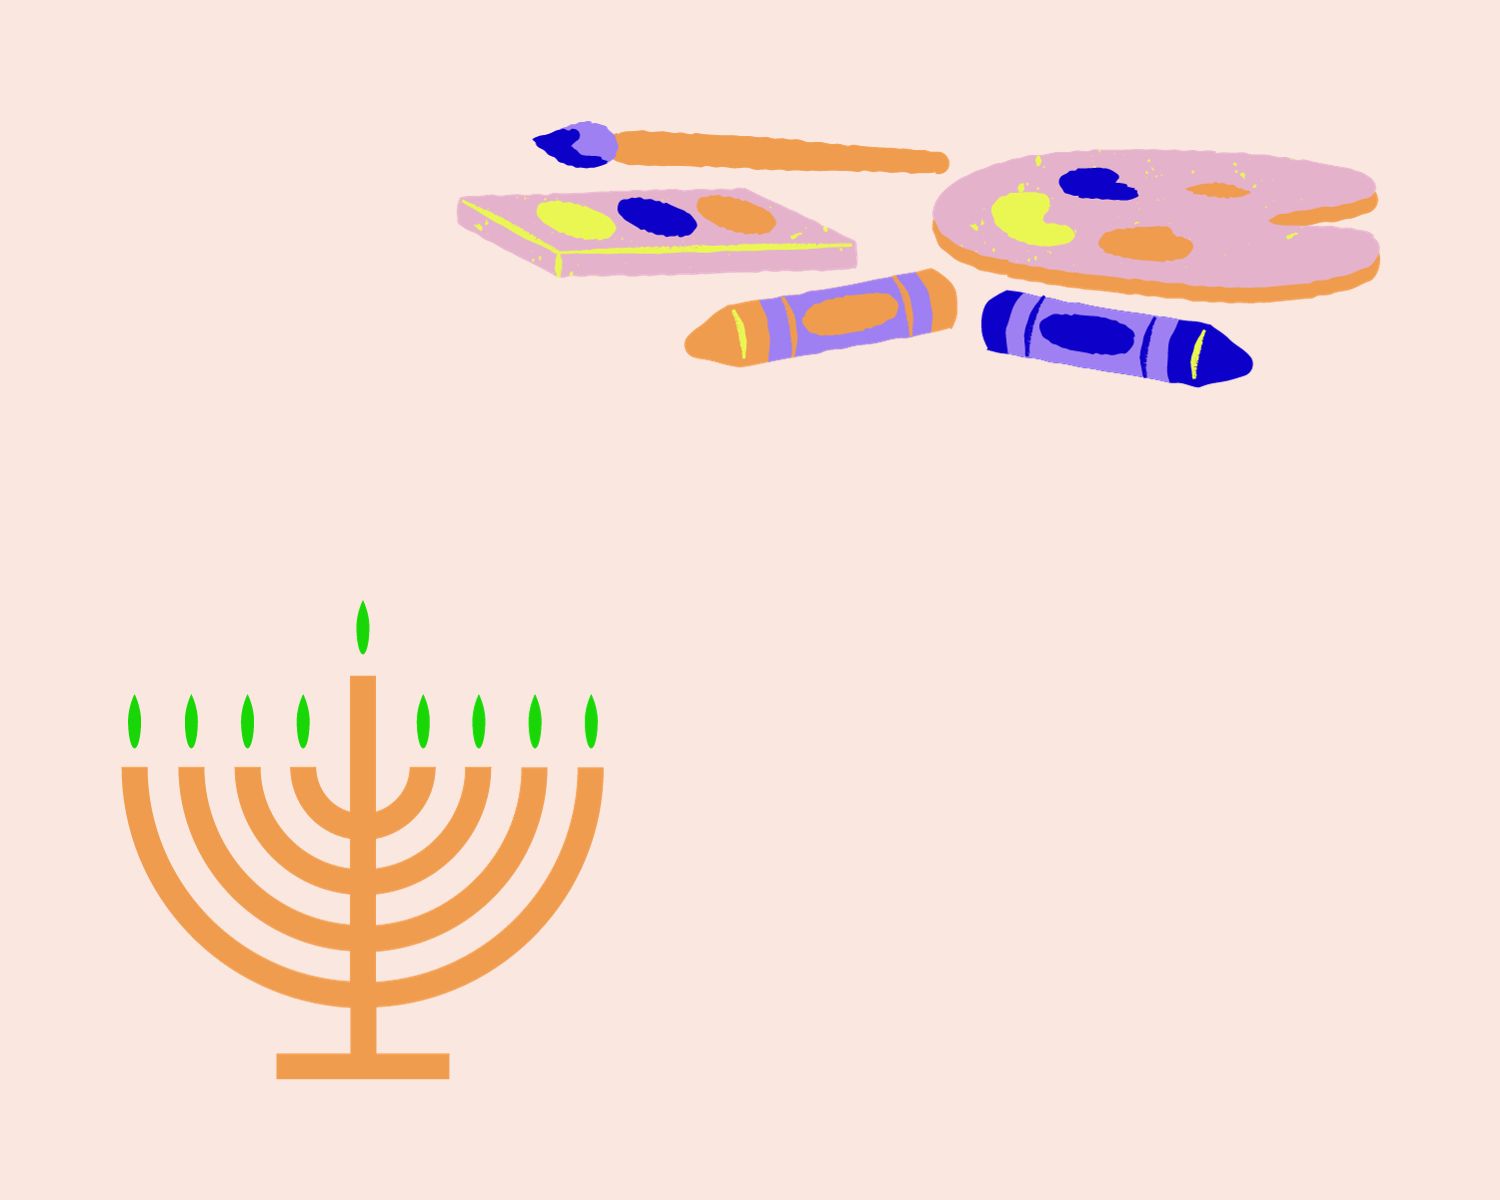
This activity will teach students how to create a Hanukkah Menorah using the engraving technique. The process for the activity and the list of materials are specified in the base unit. Thanks to this arts and crafts activity, students will bond to the history of Hanukkah, and think about the way we light the Hanukkah Menorah.
Knowledge:
Know the characteristics of the Hanukkah Menorah (see Horizons).
Identity:
Reinforce the bond between students and Hanukkah, through the main symbol of this
celebration.
Skills:
Be capable of having a good command of engraving techniques: trace, align, cut,
color, paint … Using the adequate material.
Introduction:
Decorate one of the classroom walls with illustrations of Hanukkah Menorahs in different styles (ancient and modern). Among these Hanukkah Menorahs will be the one created with the students.
Let students observe these Hanukkah Menorahs for a few minutes, then ask them to describe the aspect of each. Ask them the following questions:
– Which material is it made of? (Glass, metal, wood…)
– How many branches does it have?
– Is it a Hanukkah Menorah that needs to be lit with candles, or with olive oil?
Then present the project which will consist of creating a Hanukkah Menorah, using the engraving technique:
Highlight the model of the Hanukkah Menorah to be created.
Arrange the necessary material on the table, explaining the role of each tool. (The list of materials is mentioned in the second leaflet of the file).
A sheet of paper for silver color engraving
A sheet of white Canson paper
A ruler
A thin and thick paint brush
A paint roller
Sharp scissors
Permanent slate markers
A board (21×21)
Black paint
Spark Your Lesson
Read Spark
Related Items


